Documentation Index
Fetch the complete documentation index at: https://docs.incentiv.io/llms.txt
Use this file to discover all available pages before exploring further.
Step-by-Step Guide
Step 1: Start Migration from Testnet v1
When you log in to the Incentiv Testnet Portal, testnet.incentiv.net, a non-dismissible popup will appear: “Incentiv Testnet v2 Is Live”
• Click Migrate to Testnet v2 to proceed.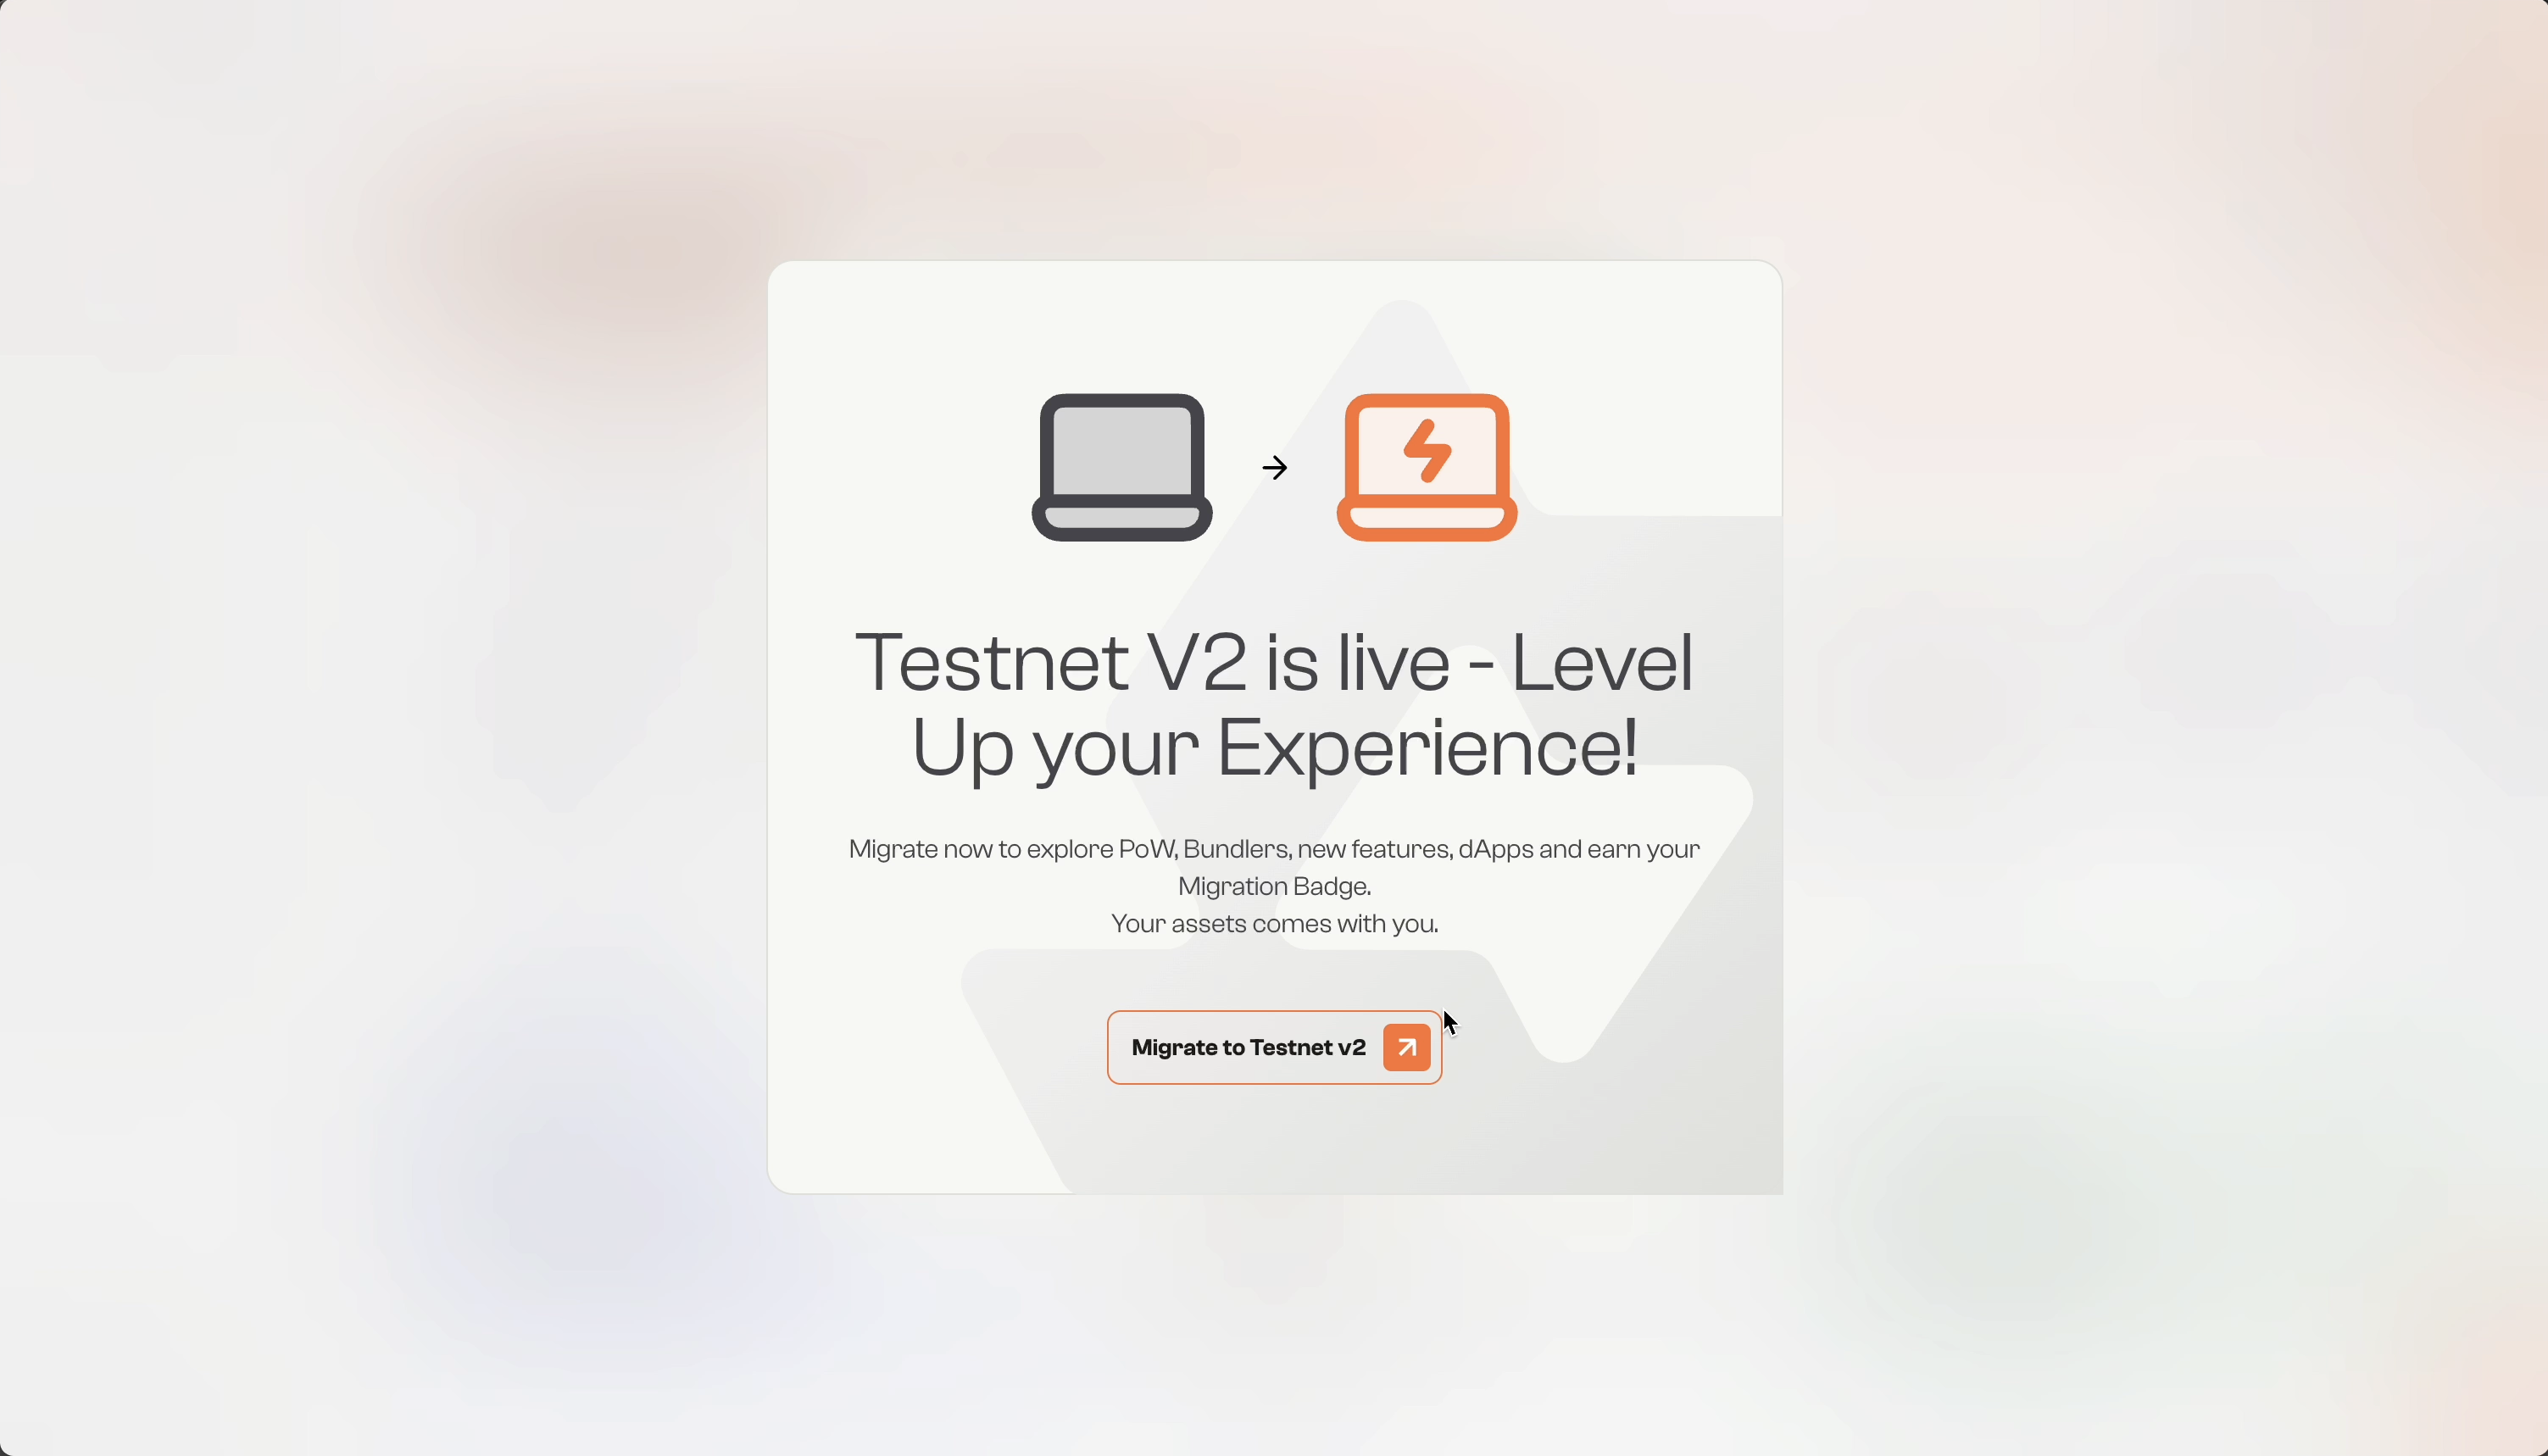
• Click Migrate to Testnet v2 to proceed.
Step 2: Create Your New Wallet
You’ll be taken to the new testnet, testnet.incentiv.io, and see: “Welcome to Incentiv Testnet v2”
• Click to Create to your new wallet.
• Click to Create to your new wallet.
Step 3: Request Migration
On the Incentiv Testnet v2, you will be prompted to request migration and the system will move you back to Testnet v1
• Click to Request Migration.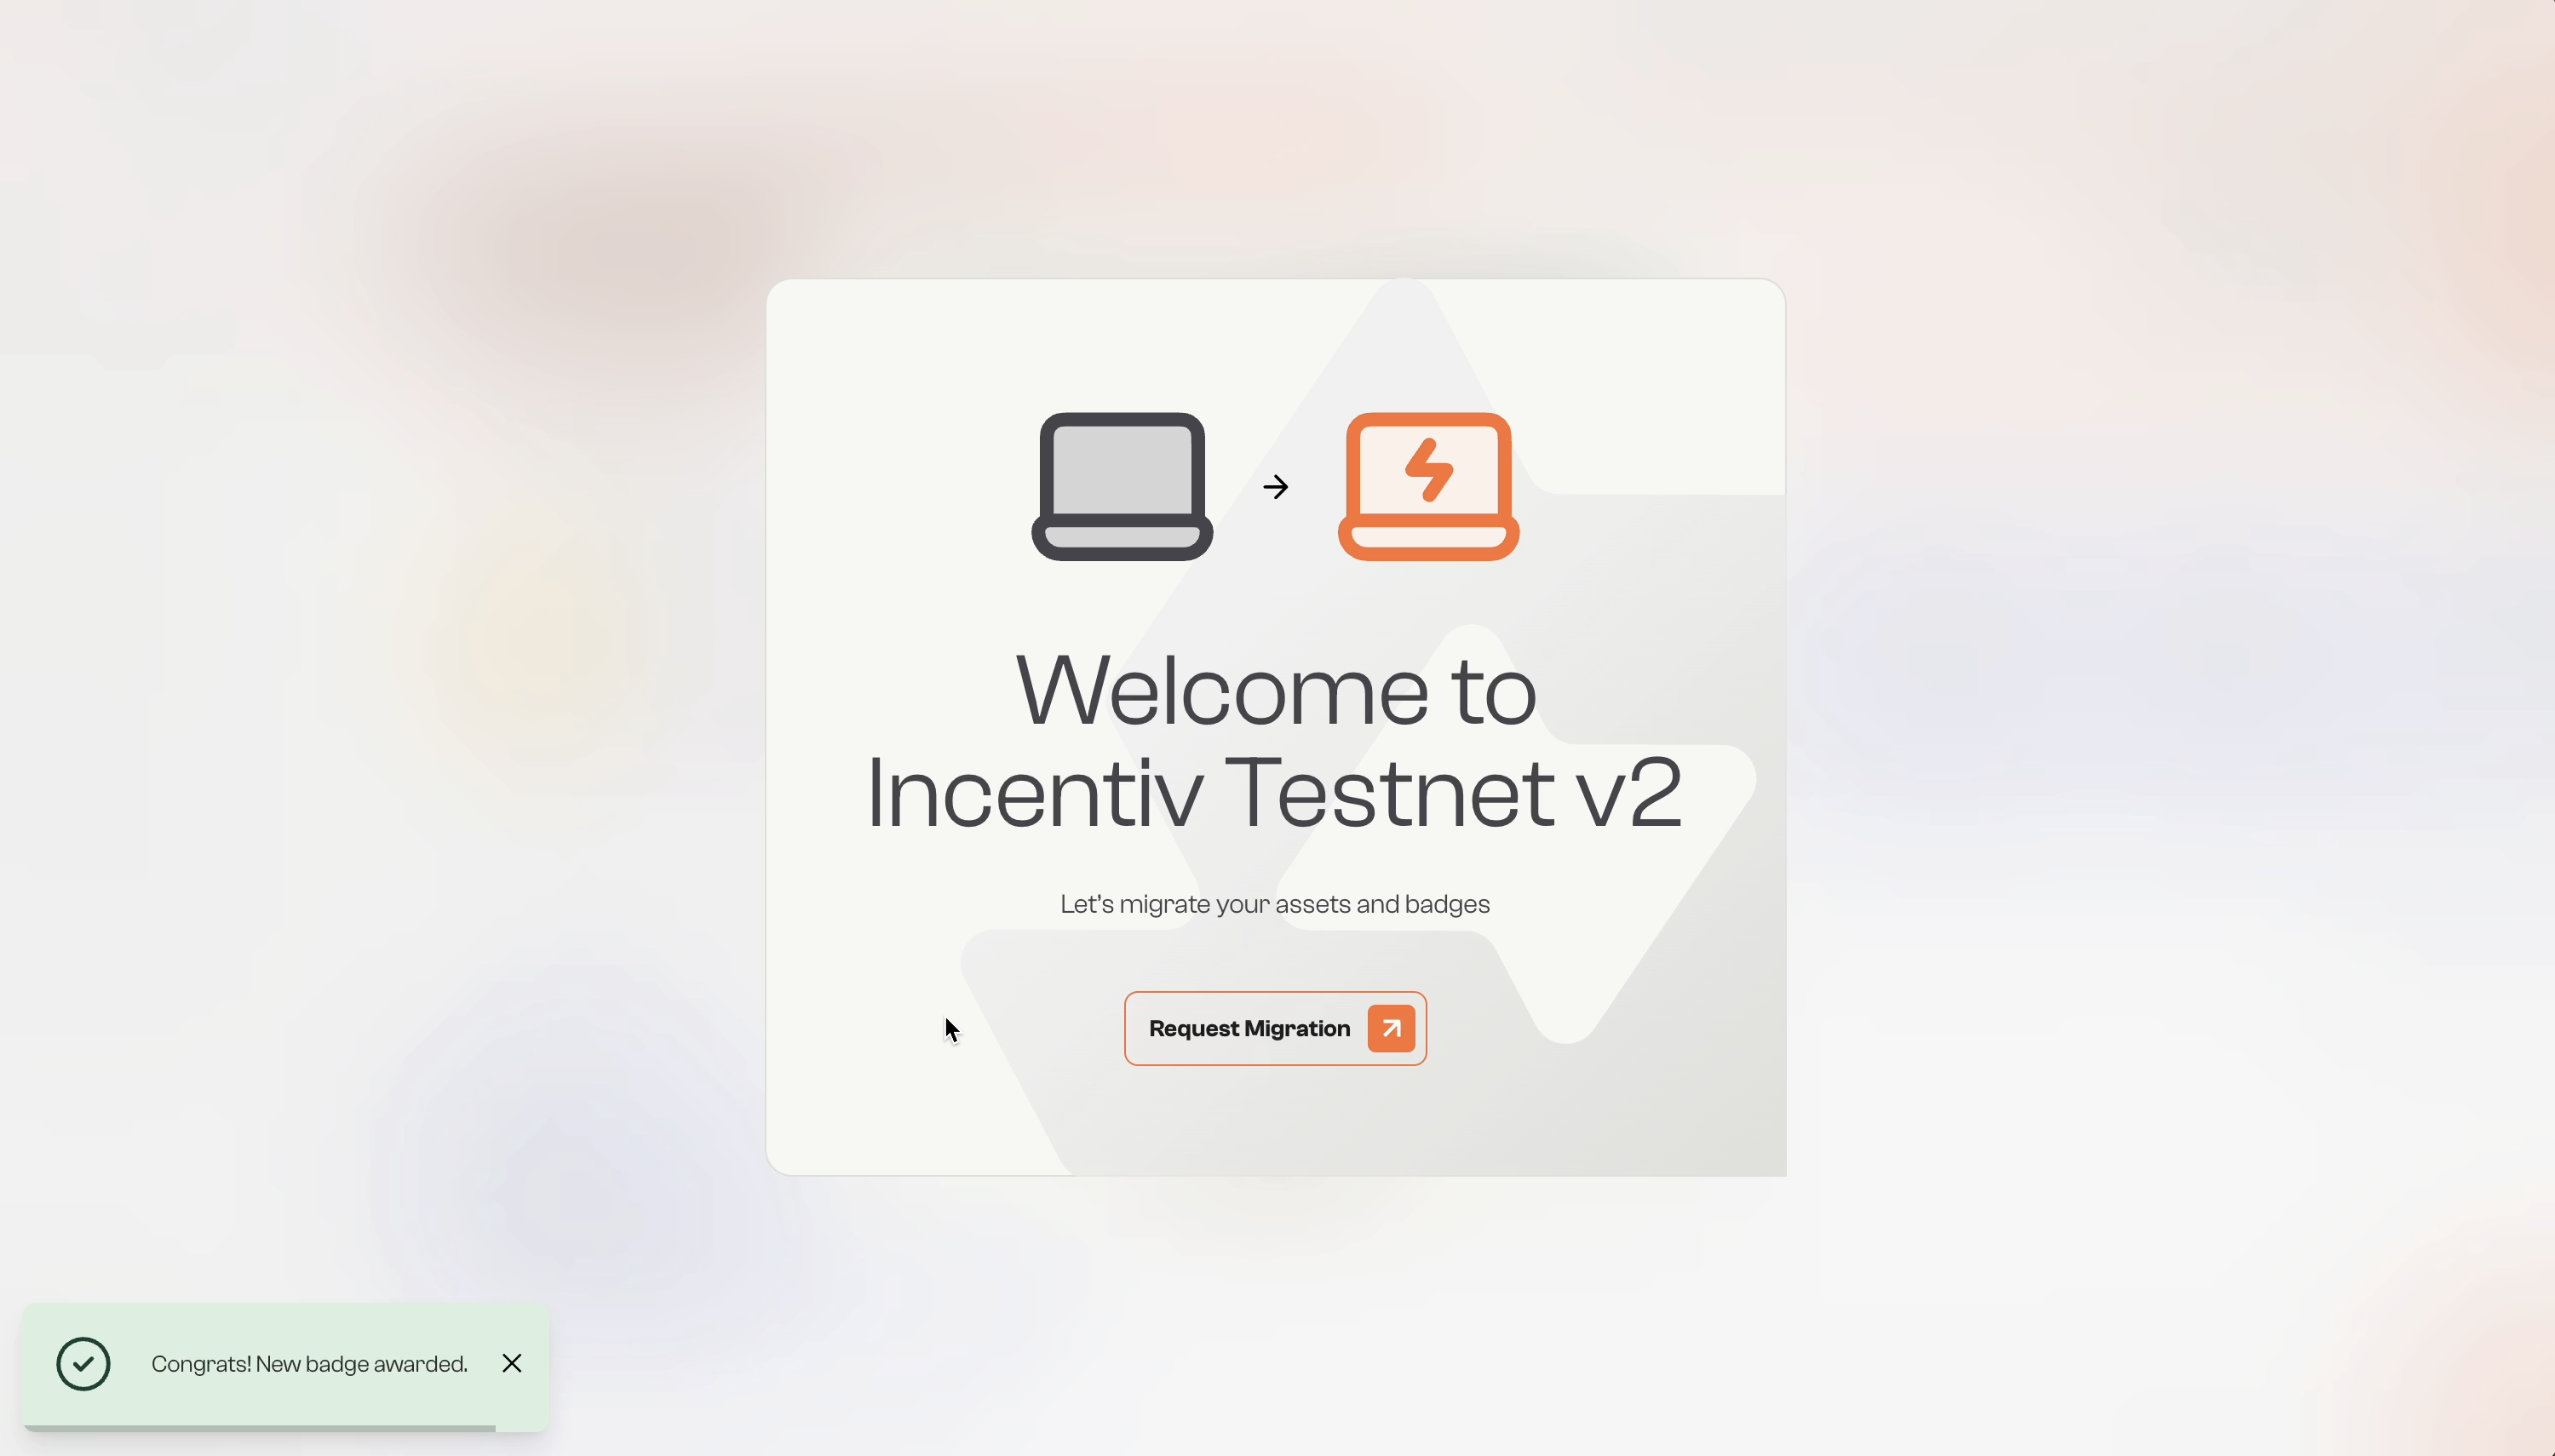
• Click to Request Migration.
Step 4: Migrate Your Assets and Badges
After creating your wallet, on Testnet v1, you’ll be prompted with: “Migrate to Incentiv Testnet V2”
• Click Start Migration to continue.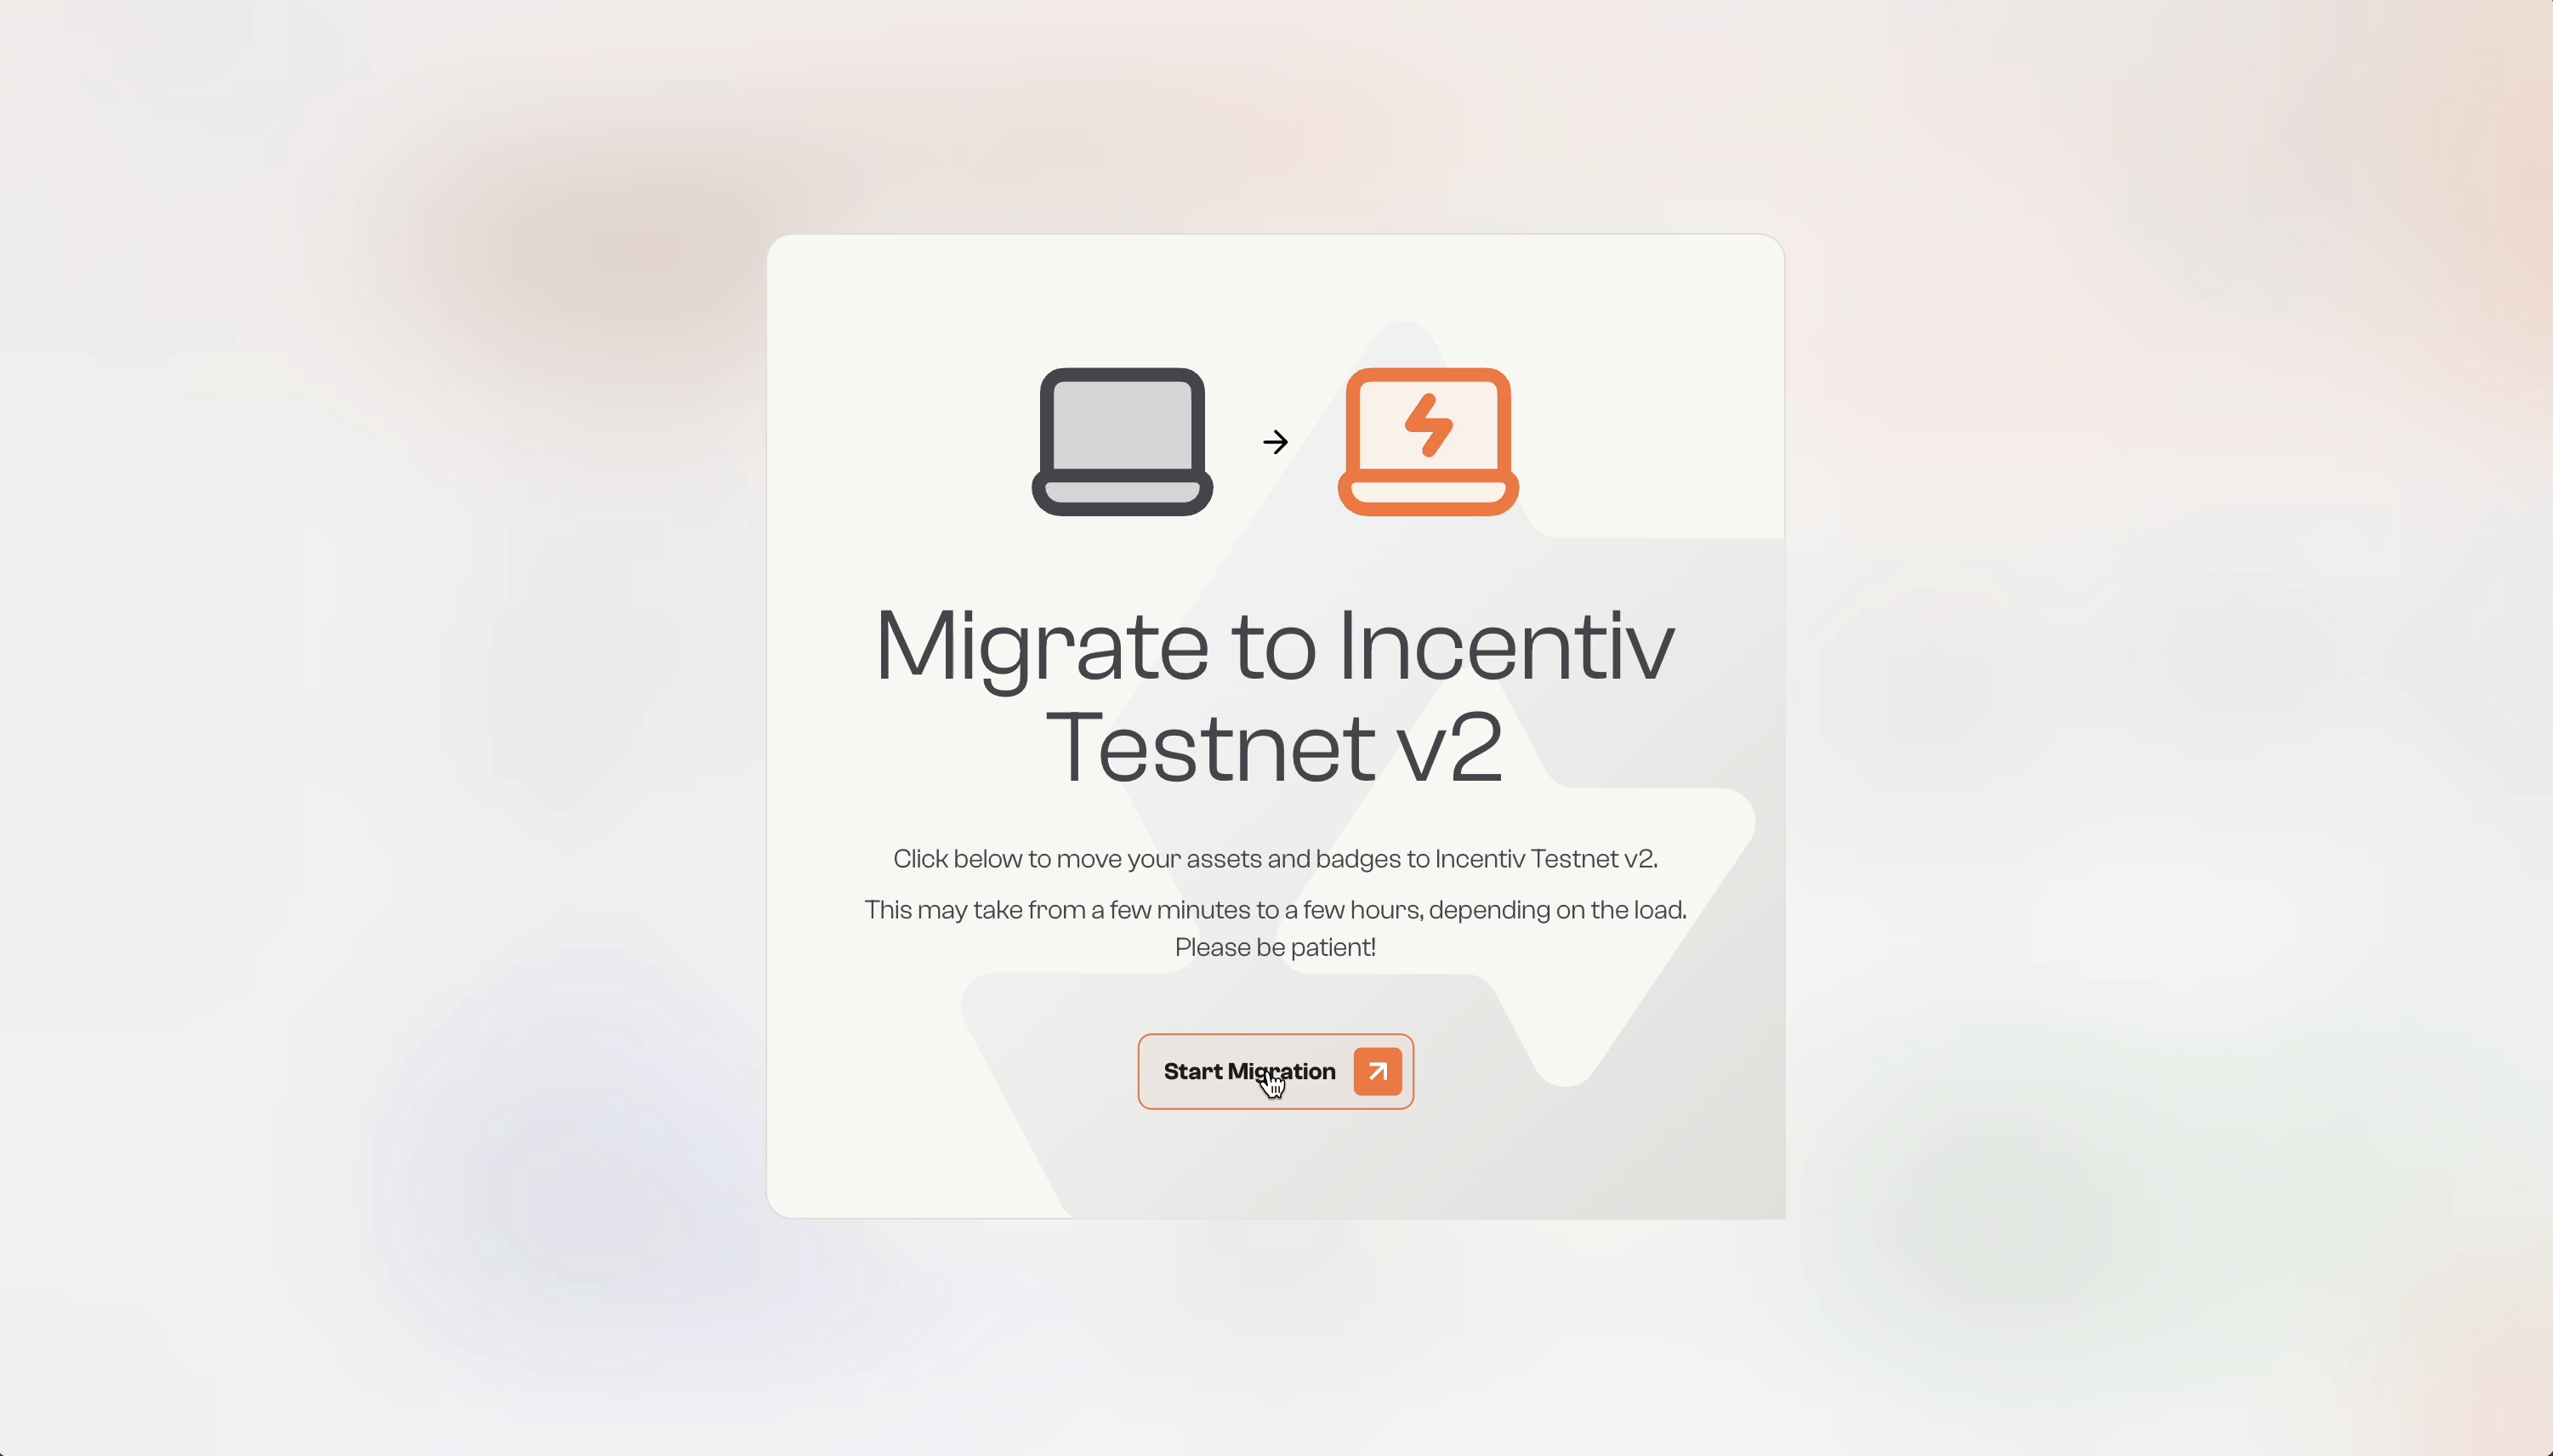
• Click Start Migration to continue.
This may take a few minutes to a few hours. Please be patient.
Step 5: Your Migration is Complete
After the process is done, you will see the message “Your migration is complete“
• Click Navigate to Testnet v2 to start your journey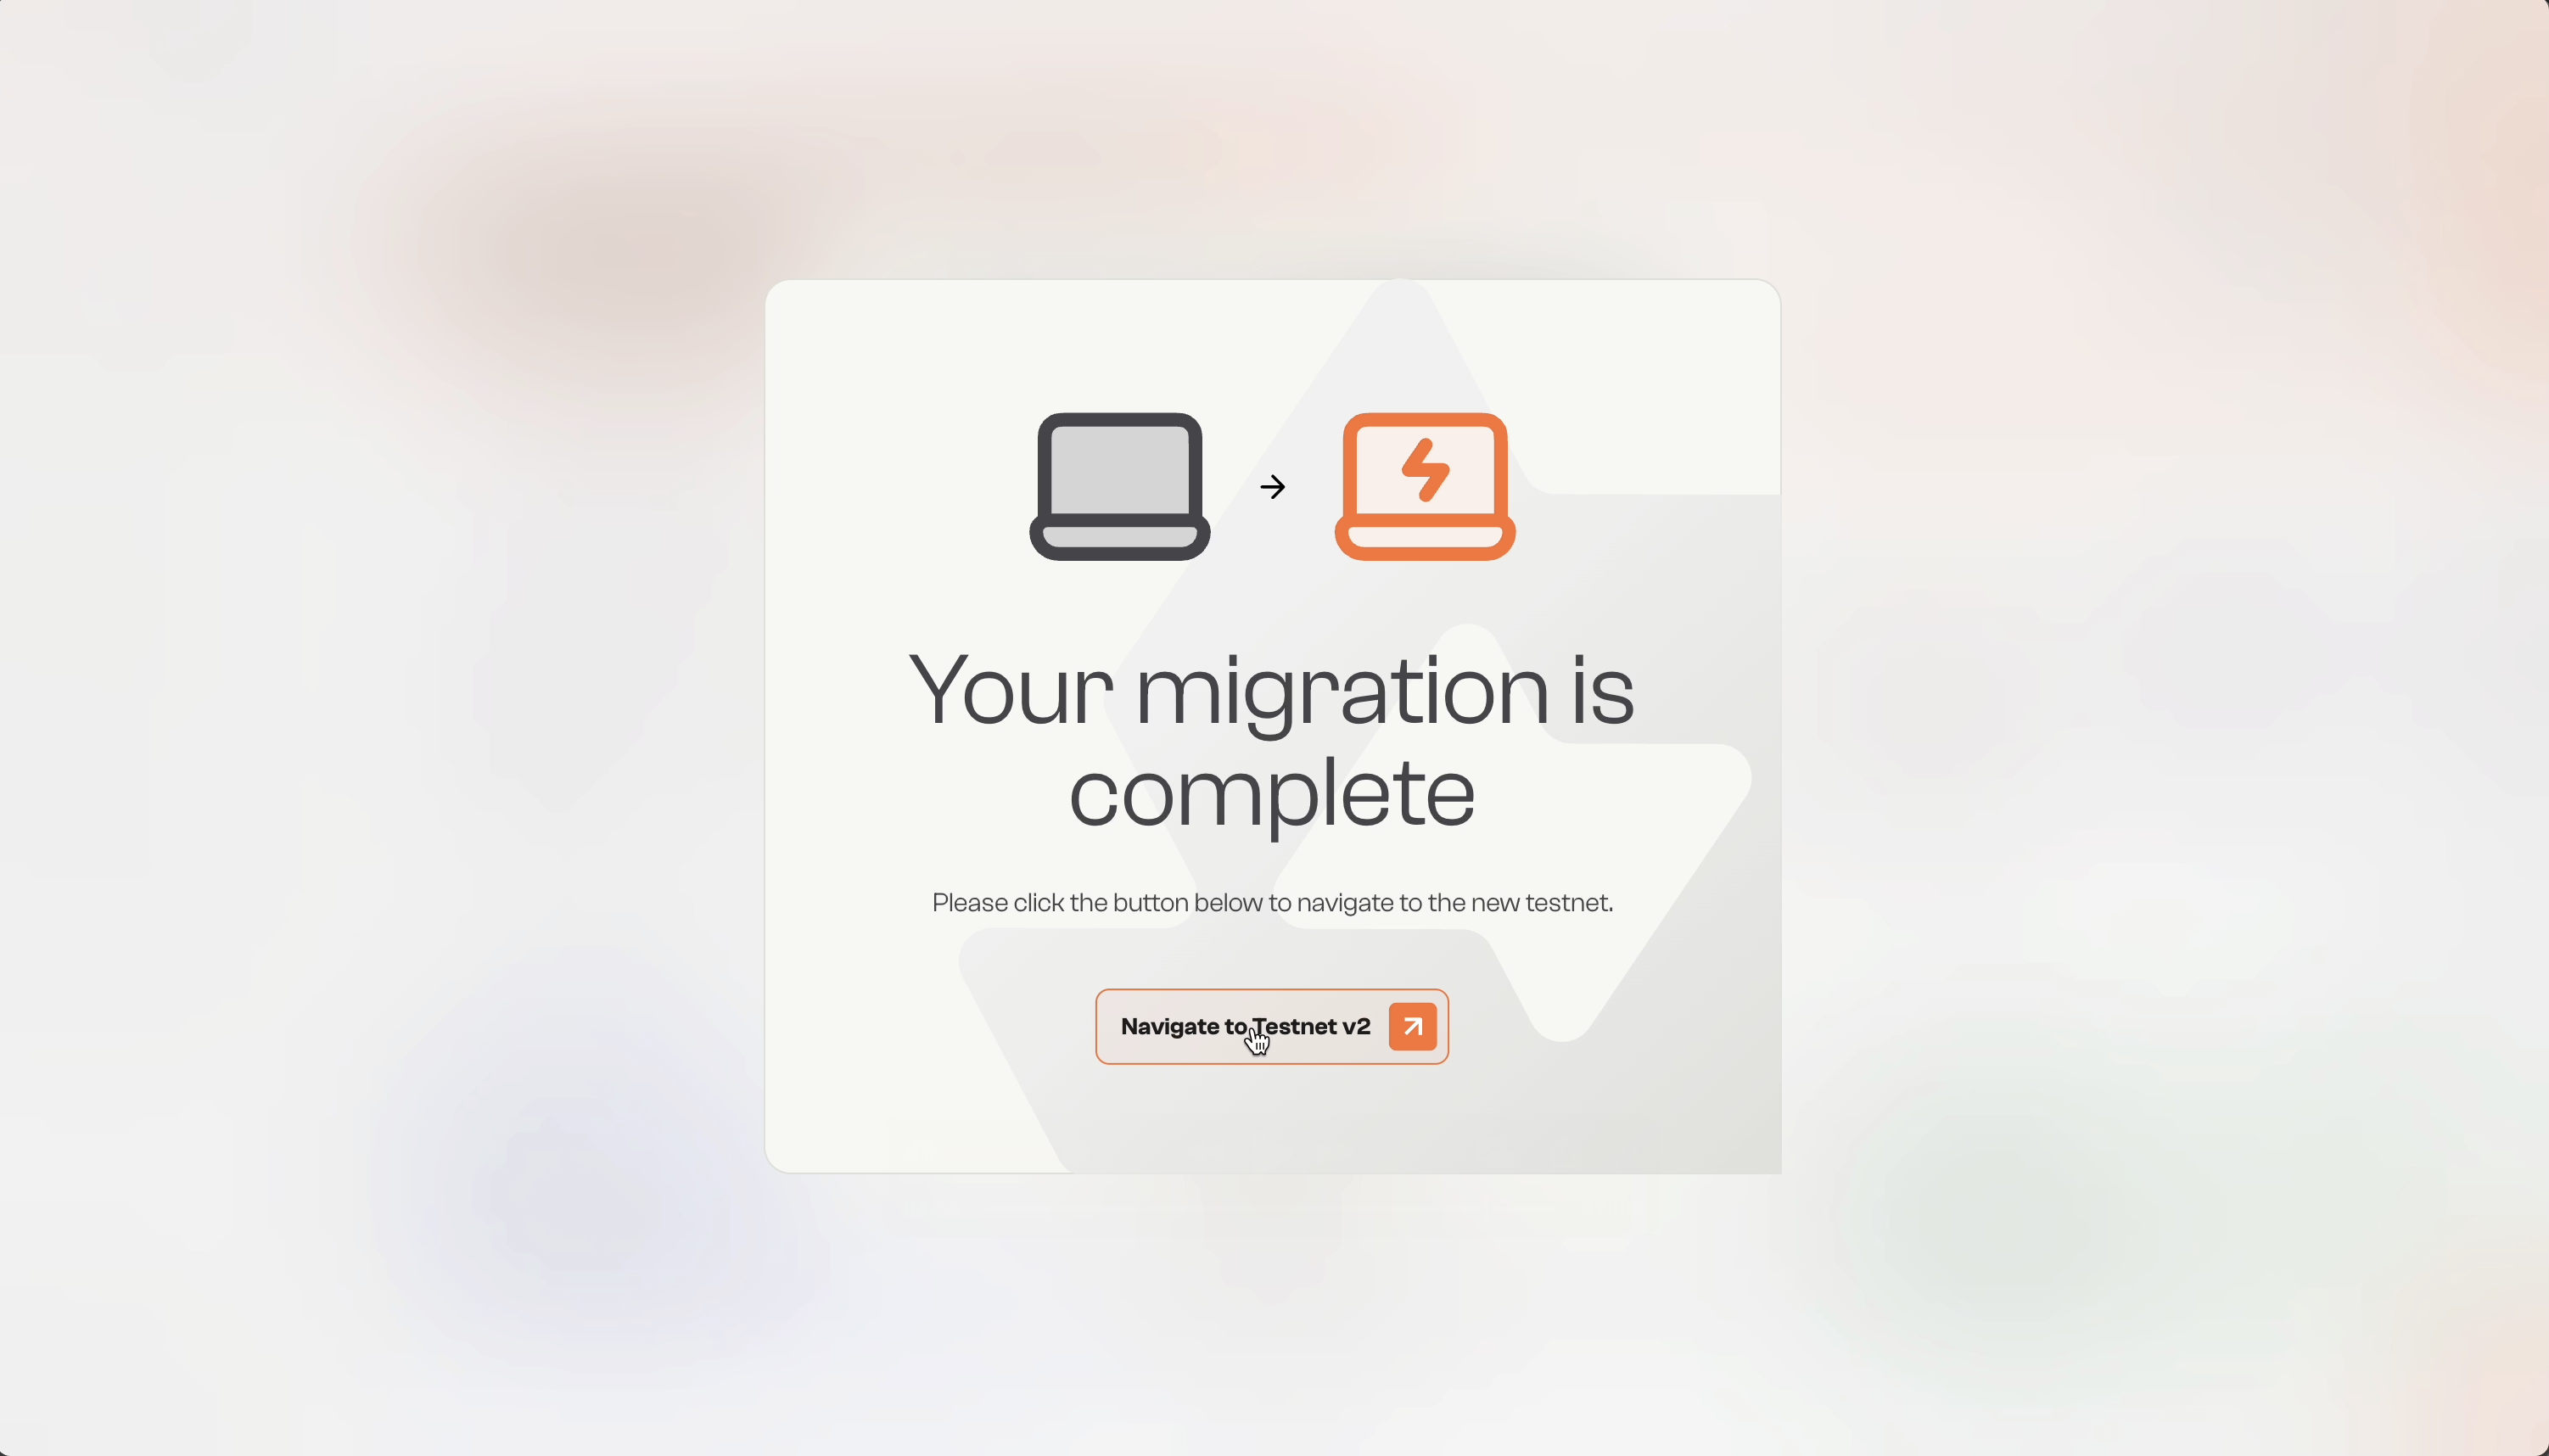
• Click Navigate to Testnet v2 to start your journey

Congratulations! You have been awarded the Migration Badge