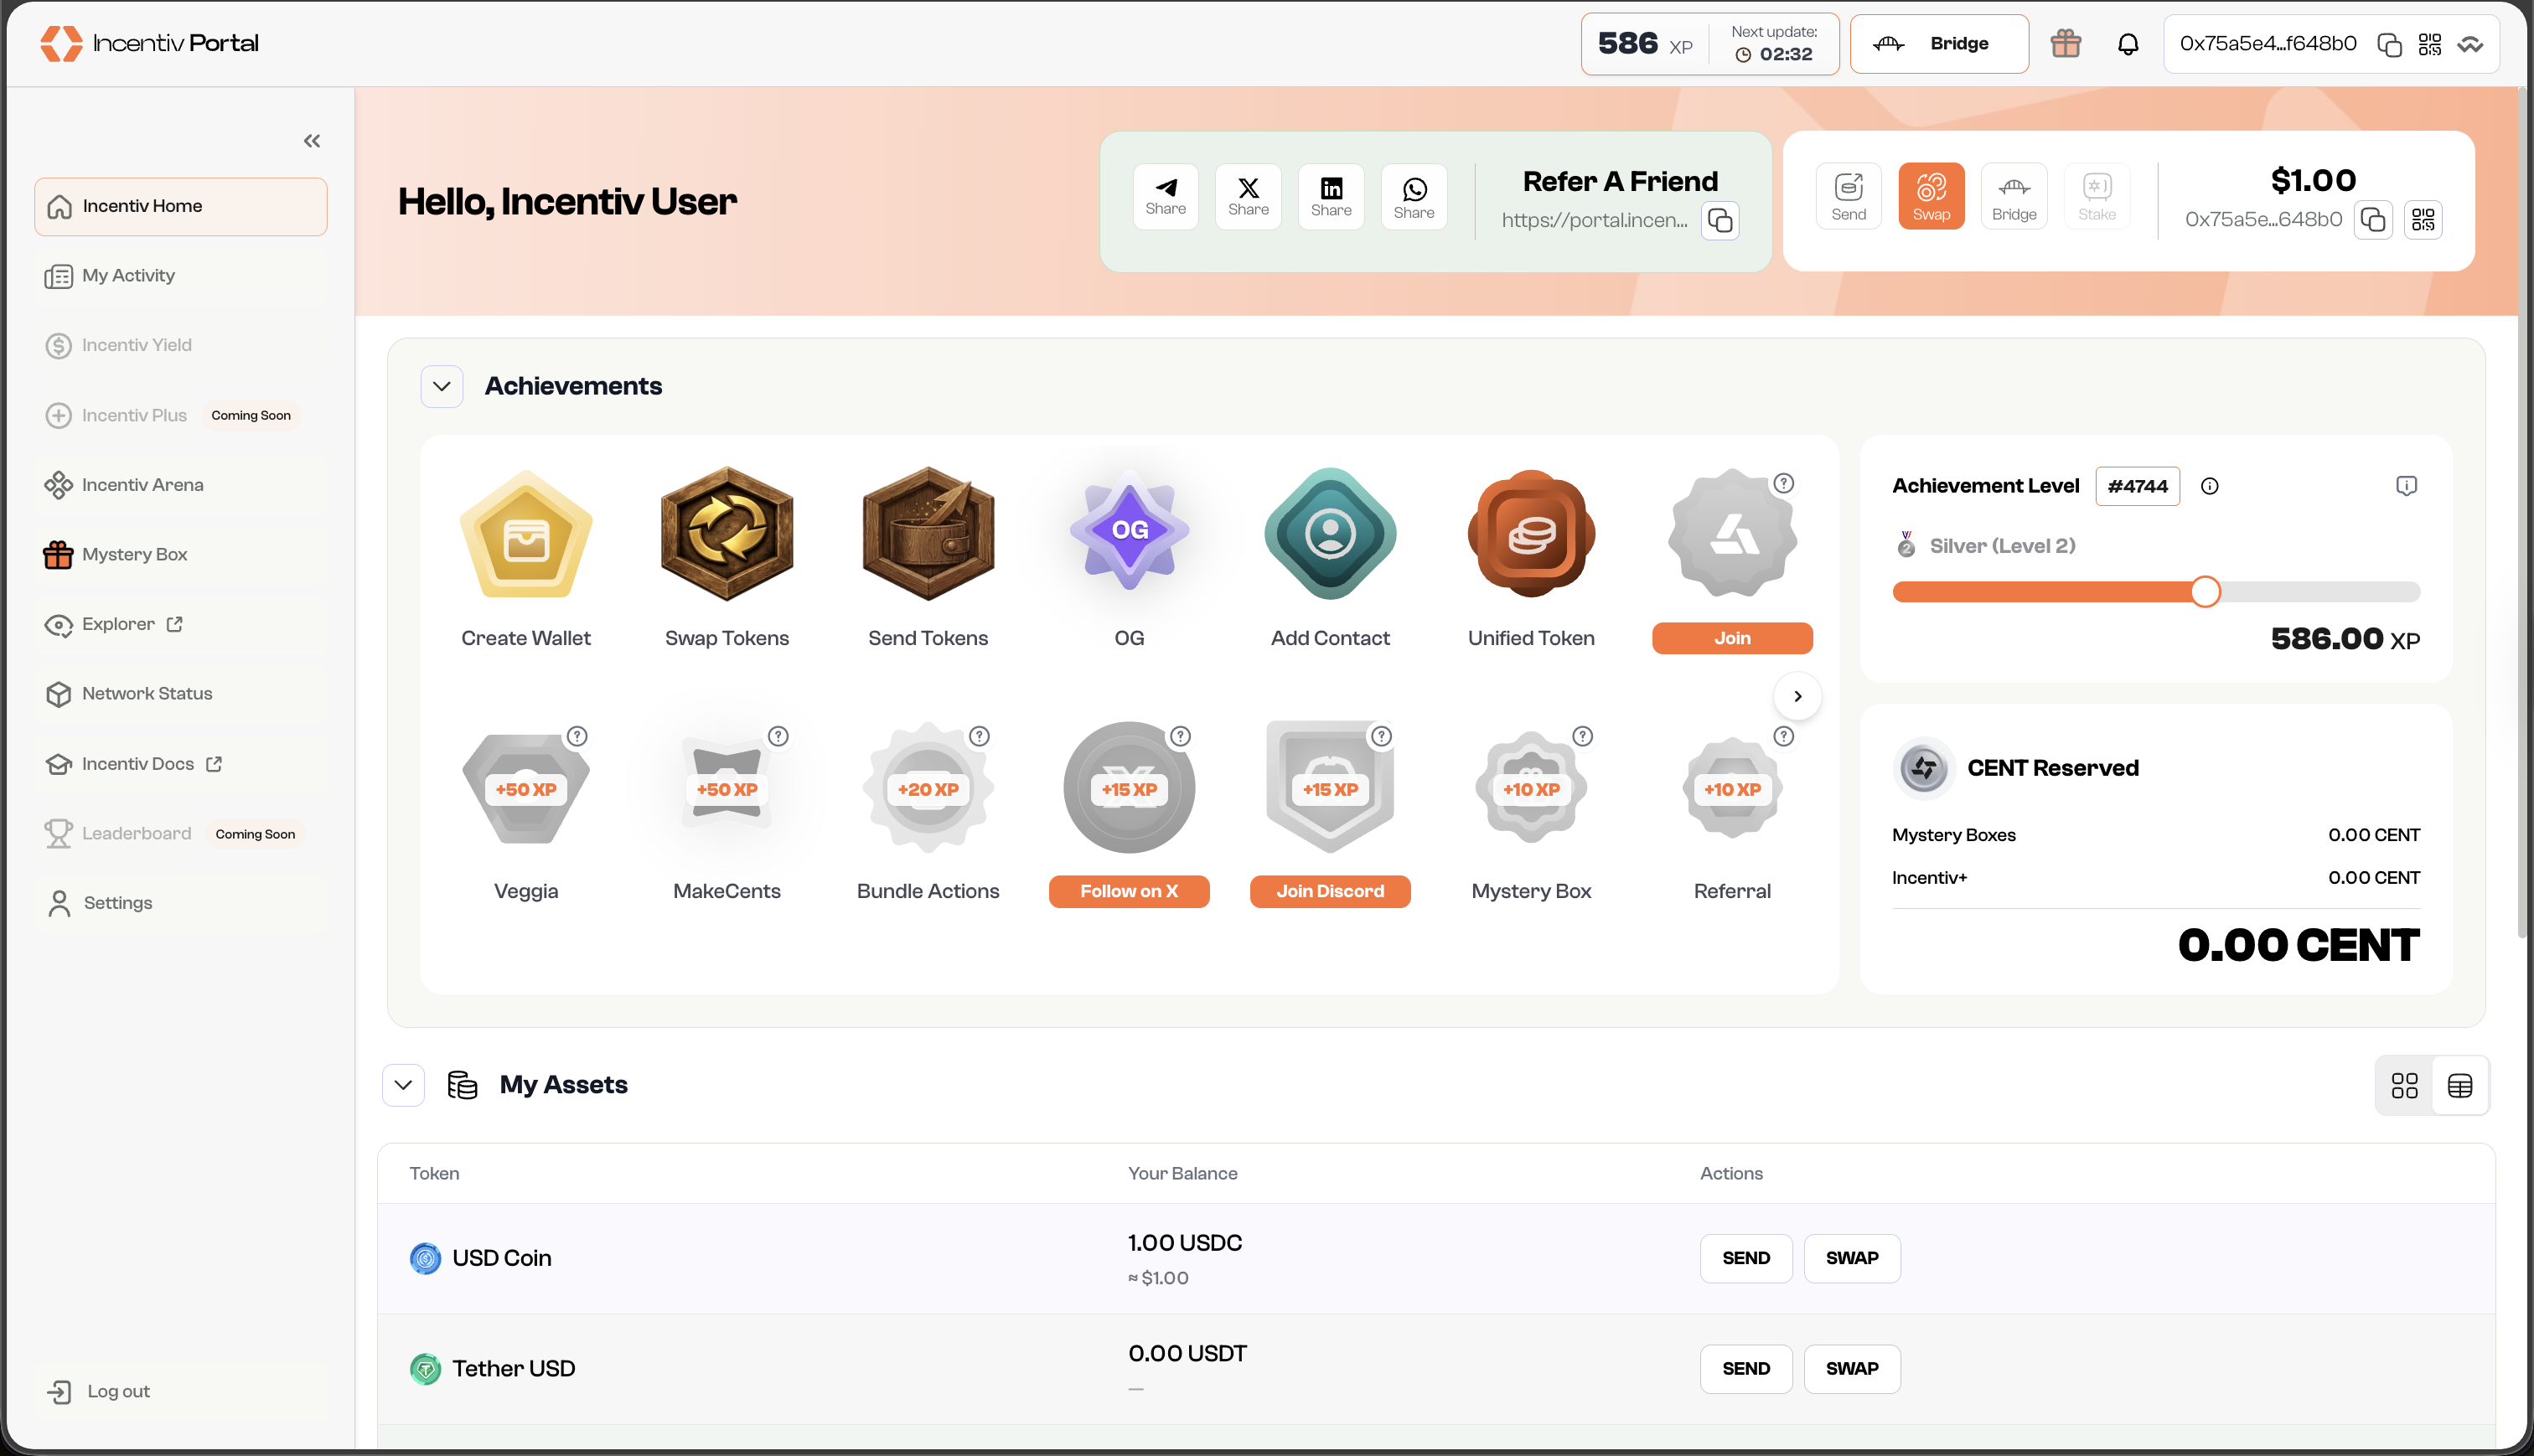
For this example, we are doing a swap and send bundle action
Step 1: Navigate and click the Swap button
- In the panel beside your nickname, or the pop-up widget, you can find action buttons.
-
Click “Swap” to set this as your first action in the bundle
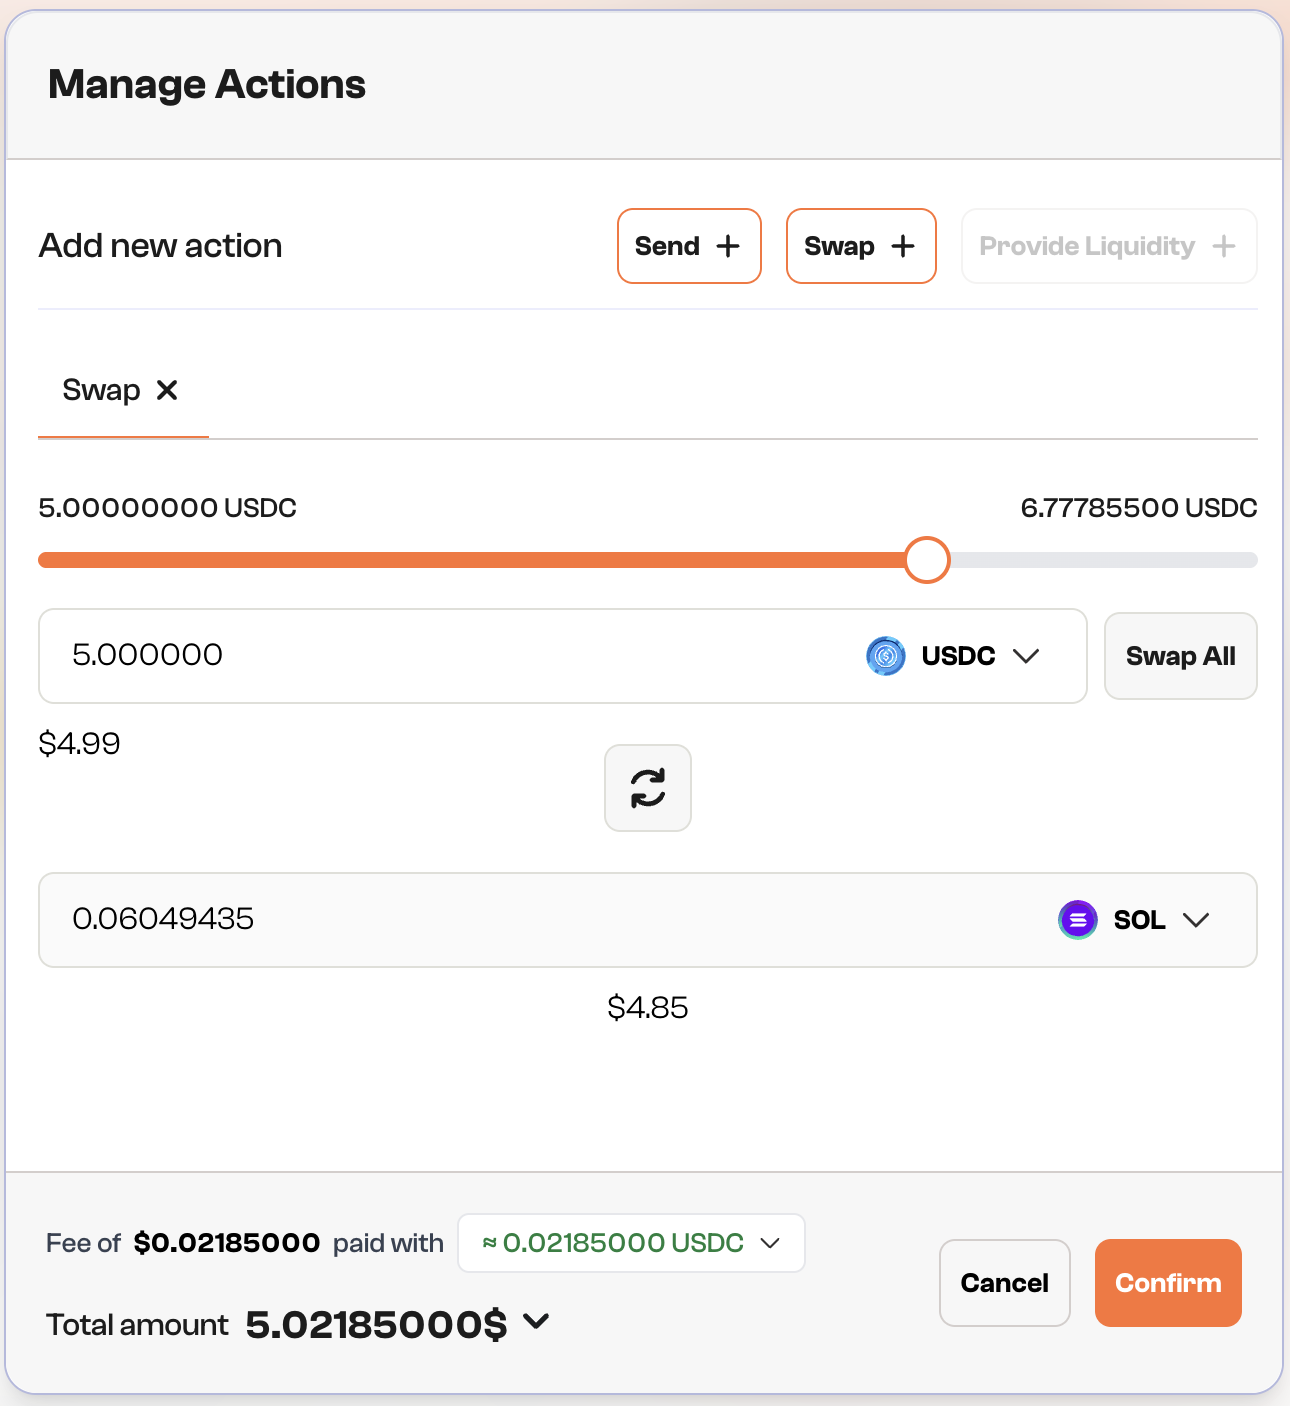
Step 2: Choose the token
- Select which token you want to swap into and specify the amount of tokens.
-
You can use the 🔄 button if you want to switch between the origin token and the target token.
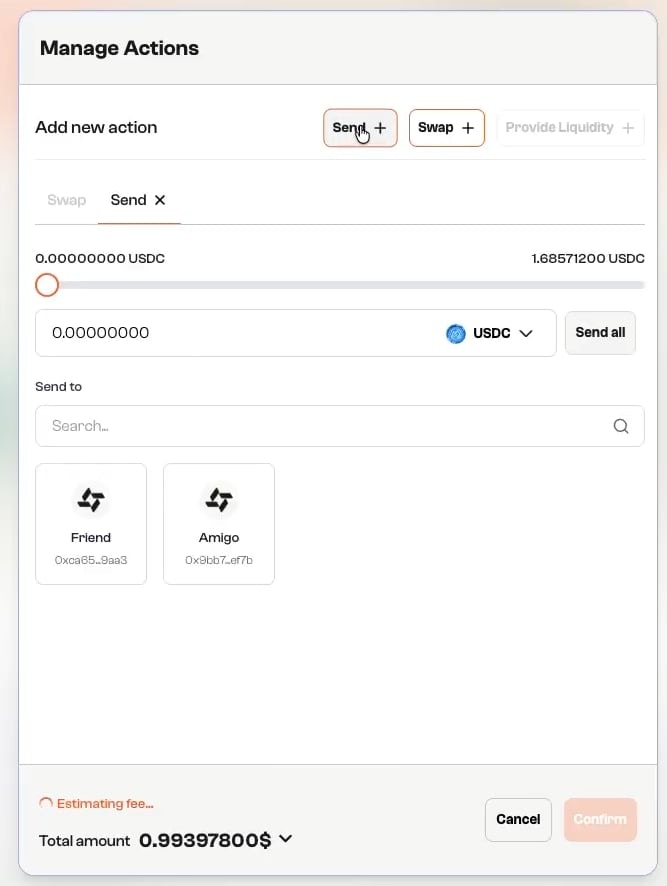
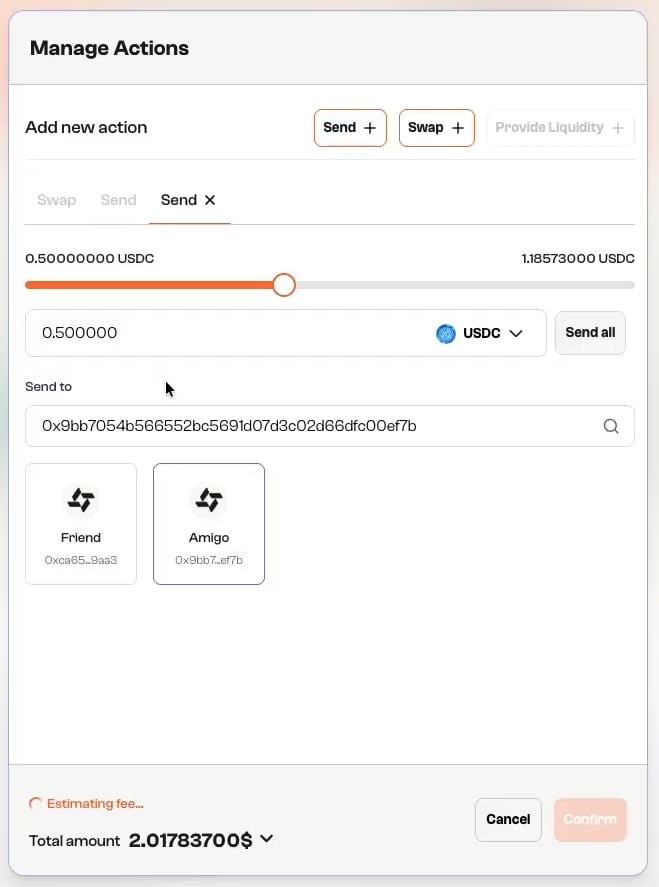
Step 4: Fill Token Amount and Recipient Address
- Enter the amount of target tokens you want to send.
-
Input the recipient’s wallet address or select a contact from your list.
Step 5: Overview & Confirm
- Review the transaction details, including the amount and gas fees.
- Click “Confirm” to initiate the transaction.
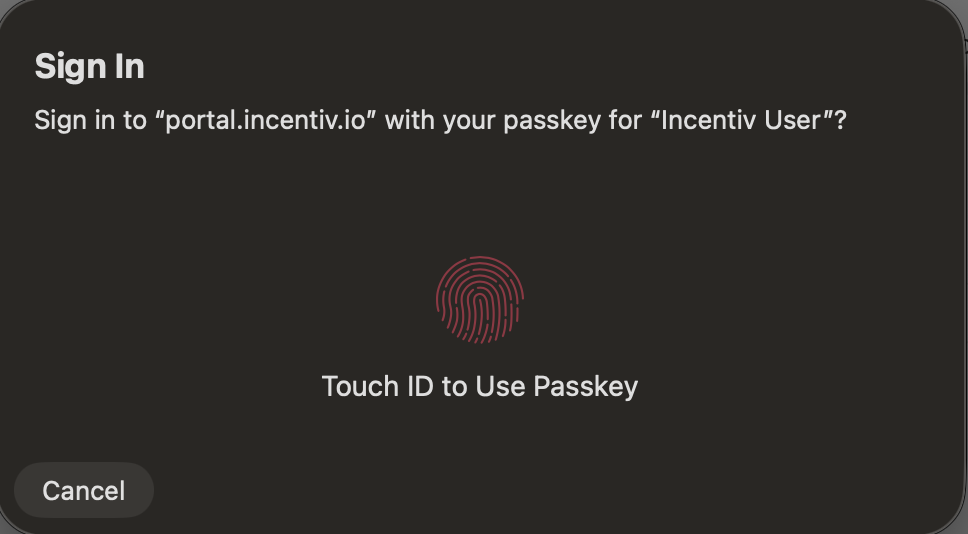
Step 6.1: Validation
- A prompt will appear, asking you to verify your identity using biometric authentication (e.g., Touch ID or PIN).
- Use your fingerprint/facial recognition or PIN to confirm the transaction.
-
You can select “Use a different passkey” or “Cancel” to abort the transaction.
- A prompt will appear from your registered external wallet extension (Metamask or Wallet Connect) to verify the transaction
- Check the details and sign the transaction from the extension
Step 7: Transaction Confirmation
-
Once the transaction is processing, you’ll receive a notification.
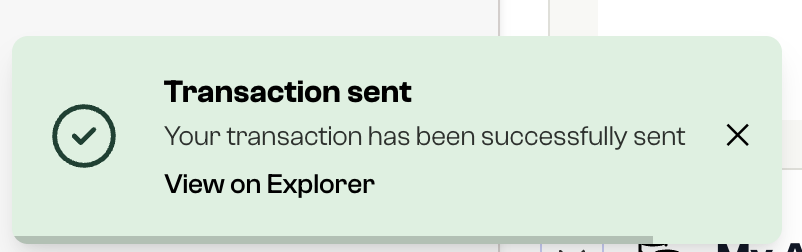
- The dashboard will reflect the updated balance of your token, and the transaction will appear in your transaction history.
- After successful completion, you’ll earn a badge. The more bundled actions you complete, the higher your badge tier.